From Idea to Shelf: What the Cosmetic Packaging Development Process Really Looks Like
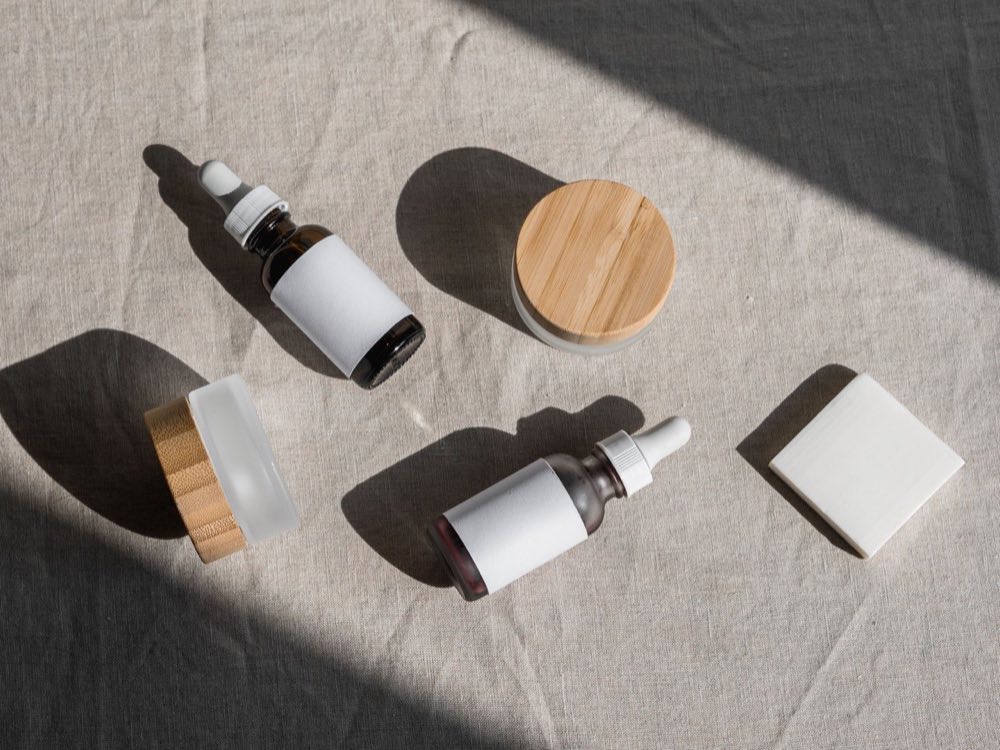
Most beauty brand founders have a clear picture of what they want their packaging to look like. What they’re often less clear on is how it actually gets made — the steps between “I want a matte black glass bottle with a gold pump” and a pallet of finished, filled, labeled products ready to ship.
The process is longer and more involved than most people expect. Understanding it before you start saves time, money, and a lot of frustration.
Stage One: Brief and Discovery
Every packaging development project starts with a conversation. Before any design work begins, the packaging team needs to understand the brand, the product, and the context the packaging will live in.
This means answering questions like: Who is the target customer? What price point does the packaging need to communicate? Where will the product be sold — online, in boutique retail, in mass market? What is the formula type, and are there any known compatibility issues? Are there sustainability requirements or material preferences?
The answers shape every decision that follows. A brand targeting premium skincare boutiques needs packaging that reads very differently from one selling through a grocery chain. Getting clear on these parameters at the start prevents expensive changes later.
Stage Two: Structural Design
Once the brief is clear, the structural work begins. This is where decisions about the physical form of the packaging are made — the shape of the bottle or jar, the closure type, the dispensing mechanism, the material, and the dimensions.
Structural design has to balance several things at once: the formula requirements (some dispensers aren’t suitable for thick textures; some materials react with certain ingredients), the aesthetic vision, the practical usability for the end customer, and the production feasibility. A design that looks beautiful on screen but can’t be manufactured at reasonable cost or scale doesn’t move forward.
This stage often involves back-and-forth between designers and engineers. A proposed shape might need to be modified to work with standard mold-making equipment. A closure might need to be redesigned to achieve the right torque. The structural design is finalized when the form and function are both resolved.
Stage Three: 3D Visualization
Before any physical tooling is made, the approved structural design is rendered in 3D. These renders show the packaging from multiple angles, in different color and finish options, and sometimes in lifestyle contexts that show how the finished product will look in use or on a shelf.
3D visualization serves two purposes. First, it lets the brand see and evaluate the design before committing to the cost of mold development. Changes at this stage are relatively inexpensive — adjusting a curve, changing a proportion, swapping a finish. Changes after tooling has been cut are significantly more costly.
Second, it produces assets the brand can use for internal alignment, investor presentations, or early marketing materials before physical samples exist.
Stage Four: Sampling and Testing
Once the 3D design is approved, the process moves into physical production of samples. This typically happens in two phases.
The first phase produces prototypes — physical representations of the packaging used to evaluate form and feel. These aren’t made with final production tooling; they’re often 3D printed or produced through rapid prototyping methods. They let the brand hold the packaging, assess the weight and proportions in real life, and identify anything that needs adjustment.
The second phase produces pre-production samples made with actual production tooling. These are tested for compatibility with the formula — the packaging is filled with product and evaluated over time for any interaction between the material and the formula, any issues with the closure or dispenser, and any stability concerns. This is also when drop testing, leak testing, and other quality checks happen.
This is the stage where problems are caught and fixed before they reach customers.
Stage Five: Design and Decoration
While structural development is happening, the visual design work runs in parallel — or begins once the structural form is locked. This covers the label design, print treatment, surface decoration, and any special finishes like embossing, hot stamping, or screen printing directly onto the container.
The visual design needs to work with the structural form, not just on top of it. A label that looks good in a flat file but doesn’t wrap correctly around a curved bottle, or artwork that loses detail at the print size required, needs to be adjusted before going to production.
This stage also involves regulatory compliance — ensuring that label content meets the requirements of the markets where the product will be sold, which varies by country for cosmetics.
Stage Six: Production and Quality Control
With design approved and samples signed off, the project moves into mass production. Lead times at this stage depend on the order quantity, the complexity of the packaging, and the current capacity of the manufacturing facility — typically anywhere from six to sixteen weeks.
Quality control happens throughout production, not just at the end. Components are checked against approved specifications at multiple points in the process. Finished units are inspected before shipping.
What the Full Timeline Looks Like
End to end, the cosmetic packaging design and development process for a custom package typically runs between four and nine months, depending on complexity, the number of revision rounds, and whether any issues surface during testing.
Stock packaging with surface customization — a label or a color change to an existing format — can move significantly faster, sometimes in six to eight weeks.
The brands that run into the most trouble are the ones that build their launch timeline around the fast option and then decide mid-process that they want something custom. Building the real timeline in from the start, with buffer for revision rounds and testing, is one of the most practical things a brand can do before development begins.
Why It’s Worth Understanding
None of this is meant to make the packaging development process sound daunting. It’s a well-established process that teams navigate successfully every day. But understanding what’s involved helps brands make better decisions — about timing, about budget, about what to prioritize at each stage — and ultimately leads to packaging that was developed properly rather than rushed.
The products on shelves that look effortlessly right took effort to get there. The process is how that happens.